Explained
Stud Finders, Explained
After reading, you'll understand what each type of stud finder physically detects, why the same tool gives different answers on different walls, and which parts of a spec sheet are load bearing.
In this guide
Almost every stud finder complaint comes from a mismatch between what people think the tool does and what it does. Buyers assume it sees studs; capacitive tools sense a change in density and magnetic tools sense steel. Buyers assume a live wire light means the wall is clear; makers say the opposite in the safety pages. And buyers assume a deep mode is simply better, when it is a sensitivity increase that brings more false positives with it. Get those three things straight and the category becomes easy to shop.
The 30-second version
- It senses density, not studs, which is why Franklin's own instructions say the tool detects inconsistency but does not identify what type of inconsistency or object it has found.
- A magnet finds the fastener, so it gives you a point on the stud rather than the stud's width, direction or which edge you are standing on.
- Deep scan lowers the threshold, and Zircon's instructions warn that scanning in DeepScan mode may detect an object further behind the wall that may or may not be a stud.
- Calibration happens where you switch on, so a capacitive tool powered up over a stud takes the stud as its baseline and then finds nothing at all.
- Live wire detection is a warning, not a survey, and manuals list metal conduit, metallised surfaces, moisture and unenergised circuits as things that defeat it.
The products this guide is about
Our verdict on each, with the full reasoning on the companion review.
- Buy Franklin Sensors ProSensor M210 Thirteen sensors read the wall simultaneously and light up the full width of what is behind it, with no calibration step to get wrong. Amazon
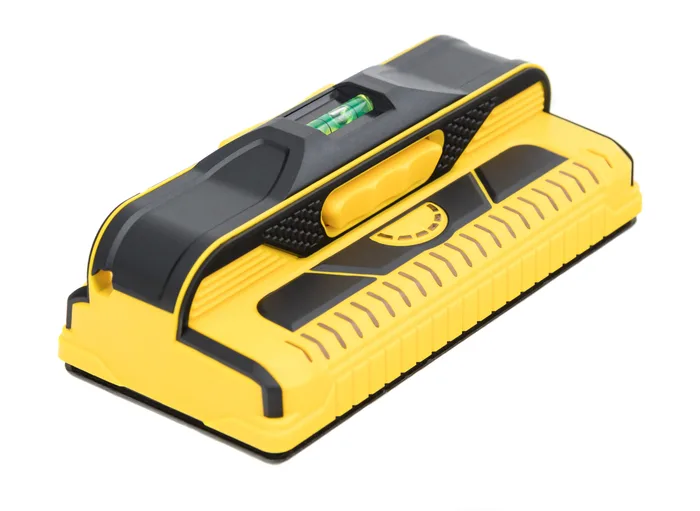
- Buy Kreg Magnetic Stud Finder (KMM1000) Two rare earth magnets latch onto the screw or nail holding the board to the stud and hang there hands free while you mark. Amazon
- It depends Bosch GMS120-27 Wall Scanner Separate modes for wood, metal and live AC, with a published depth table by material and a marking ring that shows you where the centre is. Amazon
- Skip Walabot DIY 2 M Wall Scanner Radar imaging that draws studs, pipes and wires on your phone, restricted by its own maker to drywall and plywood.
What actually matters
- Sensor count - a single sensor reports edges and leaves you to work out the centre, while an array of sensors reads several points at once and can show the full width. More sensors also mean the tool can skip the calibration step, because it compares readings across itself rather than against a stored baseline.
- Calibration behaviour - tools that take a reference reading at power-up depend entirely on where you start them, and Zircon's troubleshooting table lists calibrating over a stud as a cause of the tool finding nothing. Tools that read multiple points simultaneously avoid the problem, and Franklin states that no calibration or tuning is required.
- Published depth, by material - a single depth number tells you almost nothing because different materials behave differently. Bosch publishes separate maximum depths for ferrous metals, non-ferrous metals and live wiring, which is the format worth looking for.
- Live wire limitations - the useful information is in the warnings, not the feature bullet. Bosch's instructions state that live conductors cannot be detected with certainty behind metallised or conductive surfaces, in metal conduit or where moisture is present, and note that unenergised wires may not be detected at all.
- The not-designed-for list - Zircon publishes an explicit list including ceramic floor tile, carpeting and padding, wallpaper with metallic fibres, freshly painted damp walls, lath and plaster walls and foil covered insulation board. That list is more informative than any feature comparison.
- Wall preparation and grip - both Bosch and Zircon tell you not to touch the surface being scanned while you scan, because your hand changes the reading. Franklin adds that you should hold its tool only by the handle and stay about 3 in clear of trim, outlets and switches.
- Whether the tool identifies materials - a stud finder that only says something is there is a different tool from one that separates wood, ferrous metal, non-ferrous metal and live AC. The second kind is what you want when the question is not where to drill but whether to drill at all.
The specs, in plain English
Green flags vs red flags
Green flags
- The spec sheet gives detection depth by material rather than one headline number.
- The manual contains an explicit list of surfaces the tool is not designed for.
- The maker states either how calibration works or that no calibration is required.
- The tool has a separate metal mode, which is the standard workaround for lath and plaster and thick flooring.
- The live wire section describes limits and conditions rather than just claiming detection.
Red flags
- A single depth figure with no material or wall-condition qualifier attached.
- Live wire detection presented as a safety guarantee rather than a warning.
- No published statement about calibration at all on a single-sensor capacitive tool.
- Claims of working on every wall type, when every documented maker publishes exclusions.
- An accuracy figure with no description of how or on what wall it was established.
Who's who: the brands
- Franklin Sensors - Known for multi-sensor arrays that read the wall in several places at once and need no calibration, with unusually detailed guidance on what defeats them.
- Zircon - The long-standing name in single-sensor and multi-mode consumer scanners, and the maker whose instructions are the most explicit about which walls its tools cannot handle.
- Bosch - Site-focused wall scanners with separate wood, metal and live AC modes and depth figures published by material.
- Kreg - Woodworking jigs and layout tools, including simple battery-free magnetic stud finders with a built-in level and marking notches.
- Walabot - Radar imaging scanners that pair with a phone to draw the contents of a wall cavity, restricted by the maker to drywall and plywood.
How to read a listing without getting fooled
Start at the bottom of the page, not the top. The feature bullets are interchangeable across the whole category, but the technical data table and the safety pages differ sharply, and that is where the buying decision is. Look for whether depth is broken out by material and whether it carries a qualifier about mineral content, moisture, texture and wall consistency, because that sentence appears in the honest listings and is missing from the rest. Then find the surfaces the maker excludes: ceramic tile, carpet, foil covered insulation board, metallic wallpaper and lath and plaster are the usual entries, and if none of them appear, the maker has simply chosen not to tell you. Read the live wire paragraph as a limitation, checking for a stated depth and for the list of conditions that defeat it. Finally, look for a calibration instruction. If there is one, the tool depends on where you switch it on, and you will need to build that habit.
How much should you spend?
This is a category where budget buys a genuinely useful tool. A budget magnetic finder has no electronics to go wrong, no batteries and no calibration, and for hanging shelves on drywall it is often all that is needed. Mid-range is where multi-sensor capacitive arrays live, and the money buys you the full width of the stud in one placement plus the removal of the calibration step, which is the single biggest source of bad readings. Premium covers two different things: professional multi-mode scanners that separate wood, metal and live AC with published depths by material, and app-driven imaging tools. The first is worth it if you regularly drill into walls whose contents you do not know. The second asks you to pay premium money for a tool its own maker limits to drywall and plywood, which is a harder case to make.
Questions, answered
Why does my stud finder beep in a place with no stud?
Because it is not looking for studs. Capacitive tools respond to any change in density, and both Zircon and Franklin warn that pipes, wiring, patches of filler, paint inconsistencies and objects sitting close behind the surface can all trigger the same indication. Zircon's guidance is to map the wall by scanning at several different heights, since a stud gives a consistent reading from floor to ceiling and a pipe usually does not. Studs are normally about 38 mm wide and spaced 40 or 60 cm apart, so anything much narrower or at an odd spacing deserves a second look.
Can any of these find plastic pipes?
Not reliably, and this is a real hazard rather than a quibble. Bosch's instructions note that a water-filled plastic pipe can show on the non-metal indicator, meaning it can look like a wood stud, and that its detector alone should not be relied on exclusively. An empty plastic pipe has little density contrast and may not register at all. If you know plastic plumbing runs in a wall, the tool is not the answer; the answer is the layout drawing, the visible entry points in the basement, and shutting off the supplies before you drill.
Do I need to worry about metal studs?
You need to know which you have, because the response differs. Capacitive tools will detect a metal stud as a density change but generally will not tell you it is metal, which is why multi-mode scanners with a separate metal pass exist. Magnetic finders will hold onto the screws in a steel stud perfectly well. The practical difference is what you do next: fixings that work in wood framing are the wrong choice in a light-gauge steel stud, so identifying the material before you buy anchors matters more than the finding itself.
How long should I wait after painting or wallpapering before scanning?
Longer than most people expect, and the makers put numbers on it. Franklin's instructions say paint and wallpaper need to be completely dry before scanning, and that it may take up to two weeks for wallpaper to dry enough for the tool to find studs. Zircon says freshly painted walls may take a week or longer and that wallpaper may need several weeks. Moisture in the surface changes the density the tool is measuring, so a wall that reads perfectly well a month later can be unusable the day after decorating.
Or jump to the head-to-head: Franklin Sensors ProSensor M210 vs Kreg Magnetic Stud Finder (KMM1000).